PDF upload - Prenly
A PDF for only replica reading mode can be uploaded directly in Prenly Workspace.
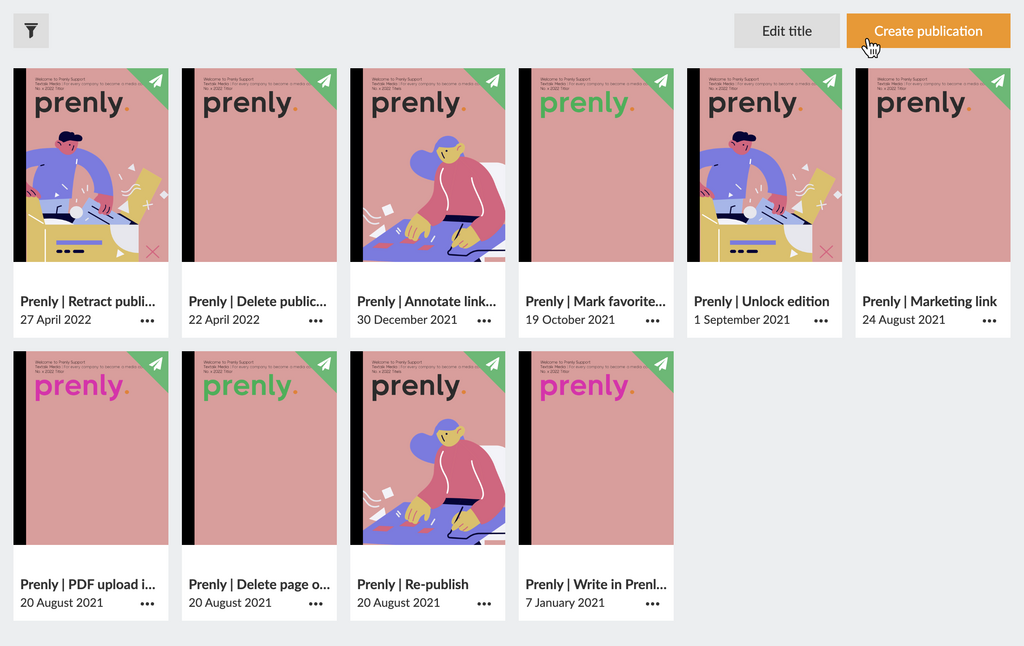
Regardless of what you want to write, you first need to select a publication to host your PDF. Select the publication of the Prenly title of your choice by touching the publication card either on the cover image or name field.
If the publication does not exist, select the button "Create publication" to create a new publication on the selected Prenly title.
Enter a delivery date and name. Select whether the publication should be public or "Same as title" to use the title's general read permissions settings.
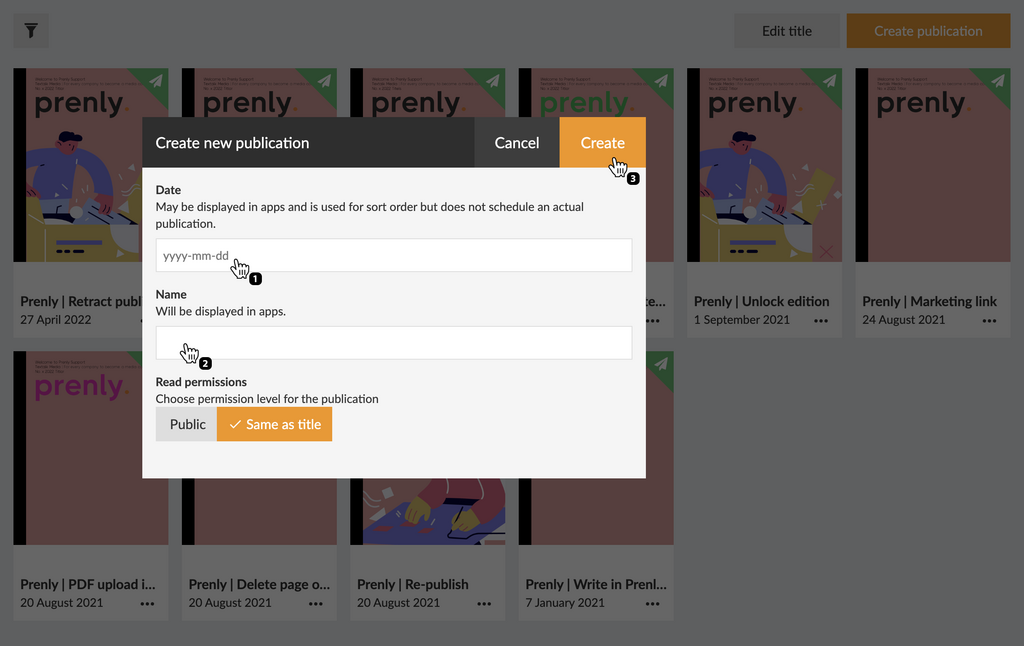
Once you are happy with the configuration, select "Create" to create your new publication. Prenly will, by default, use your chosen delivery date as the publication name when Prenly automatically creates a new publication; but you are free to select whatever name you would like.
Now follow these simple steps to upload your PDF:
1. Select the target publication.
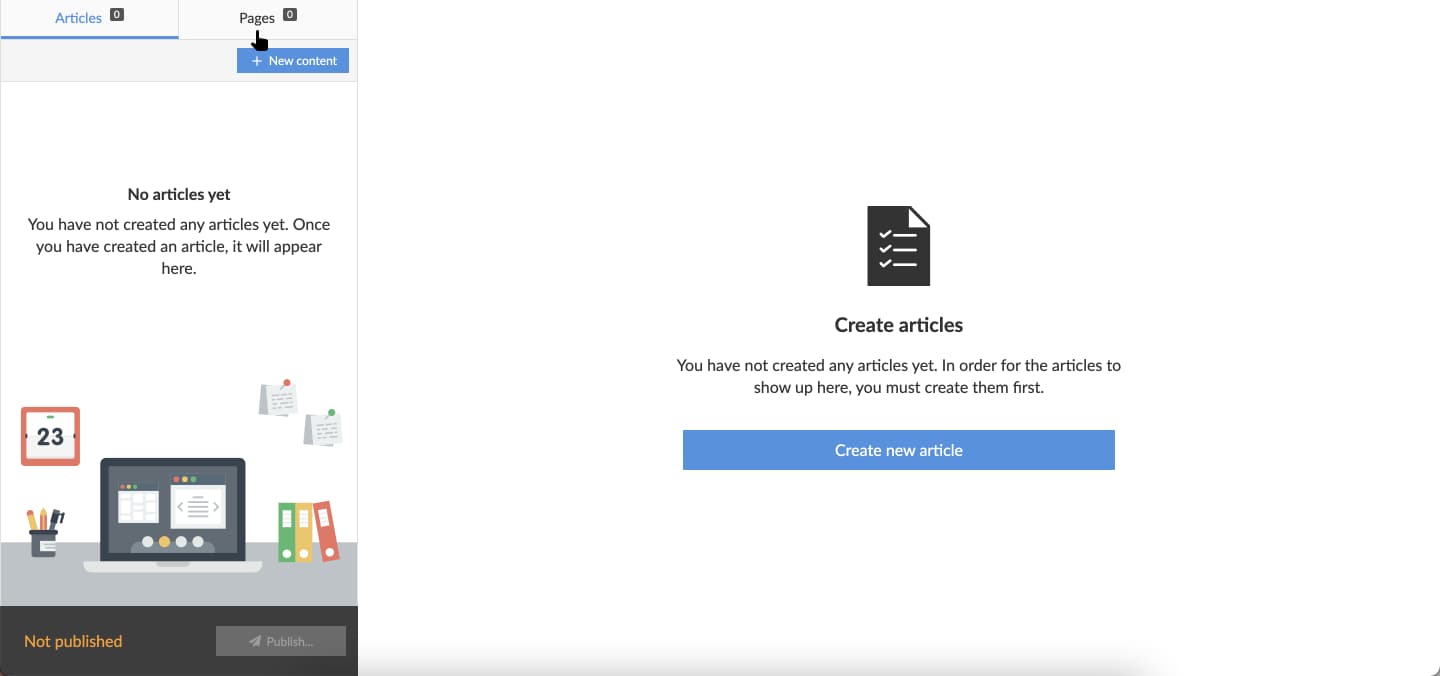
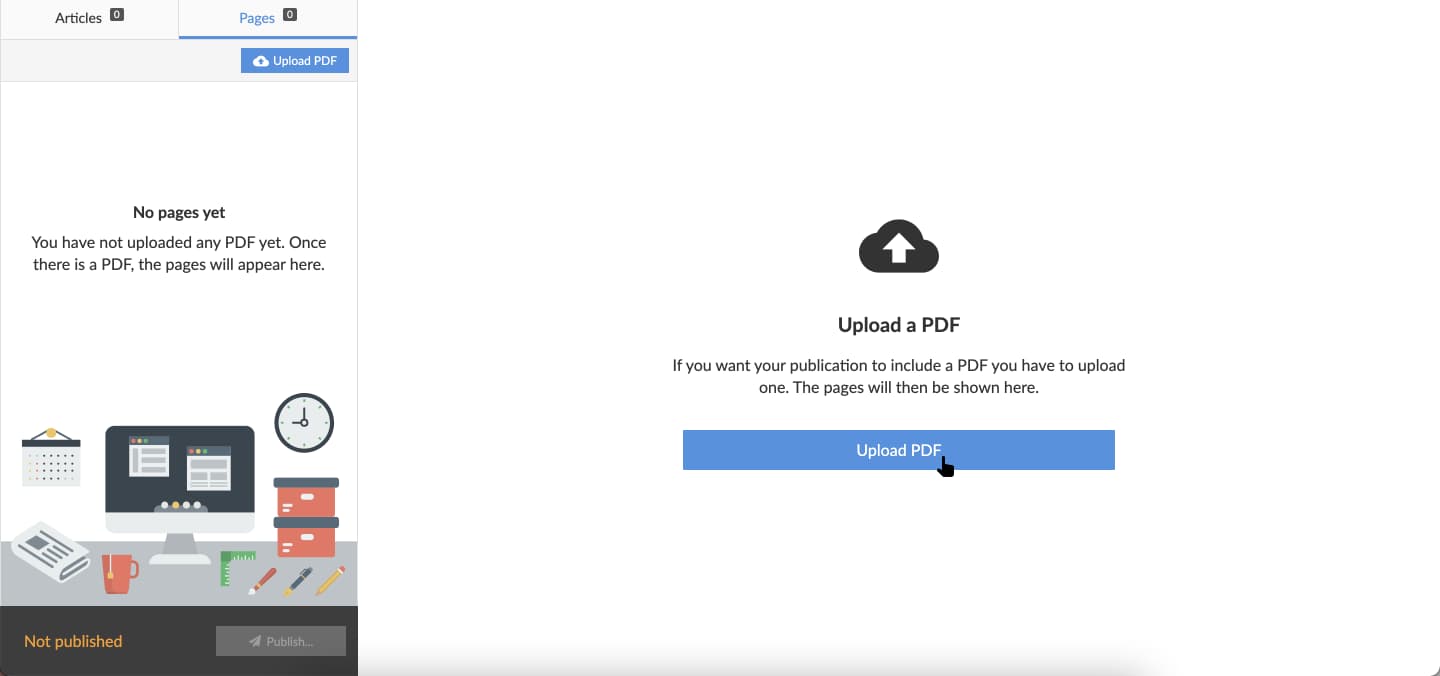
2. Select the tab "Pages".
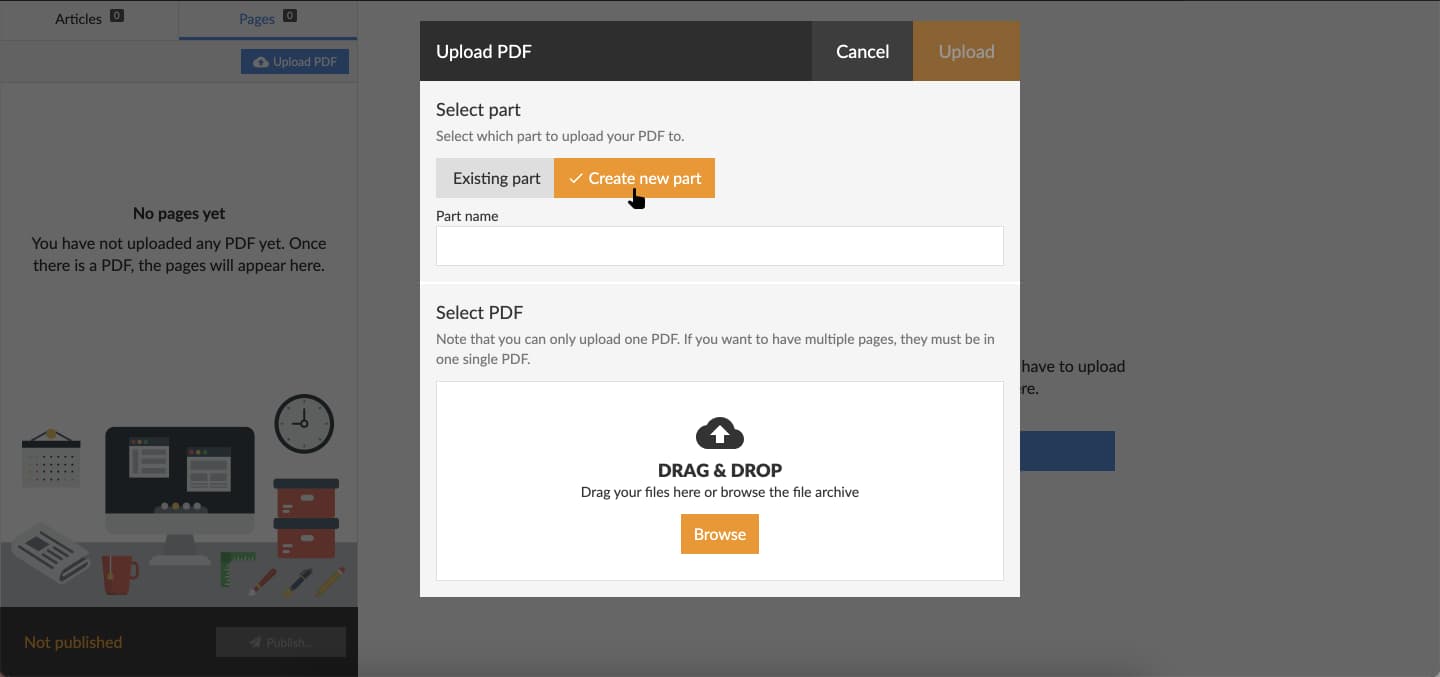
3. Select Upload PDF.
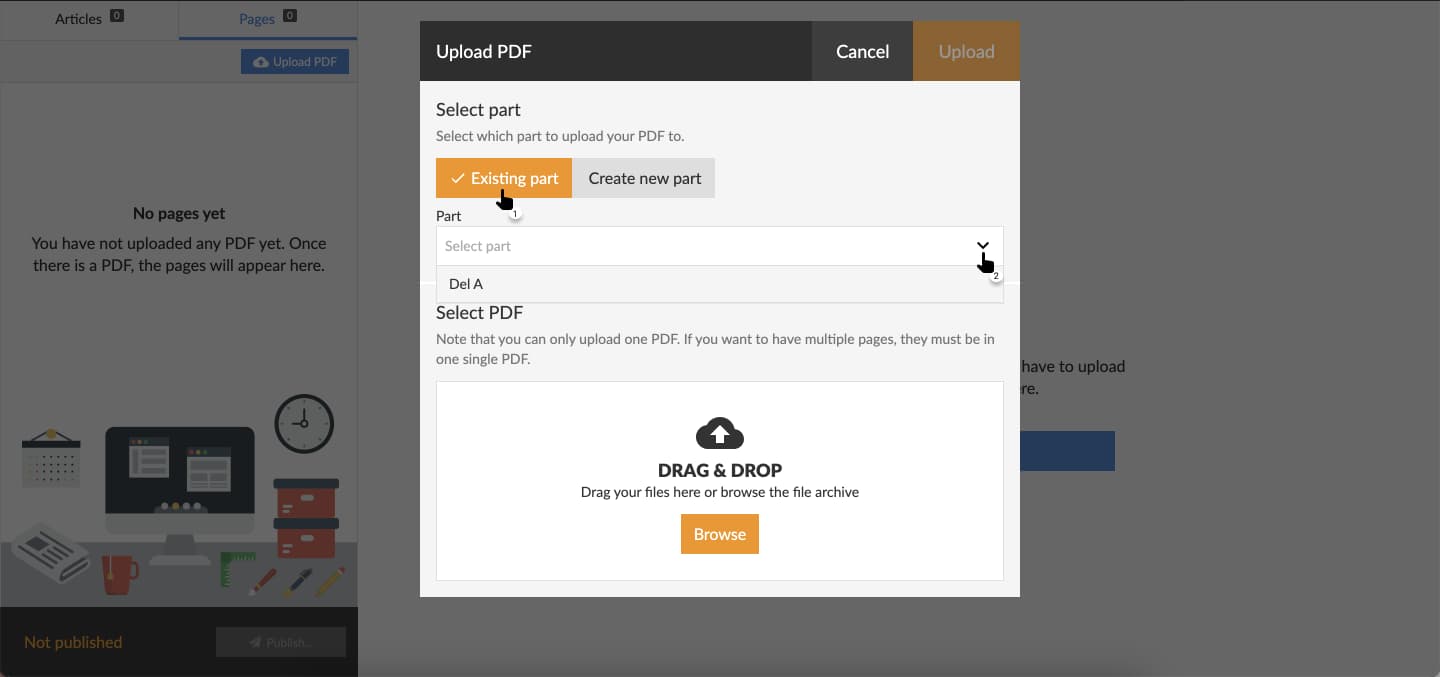
4. To upload the PDF you need to select which part of the publication it represent. Choose between existing parts currently available, by selecting "Existing part" or creating a new part, by selecting "Create new part" and enter your desired part name.

If you chose "Existing part", select an existing part in the drop-down menu.
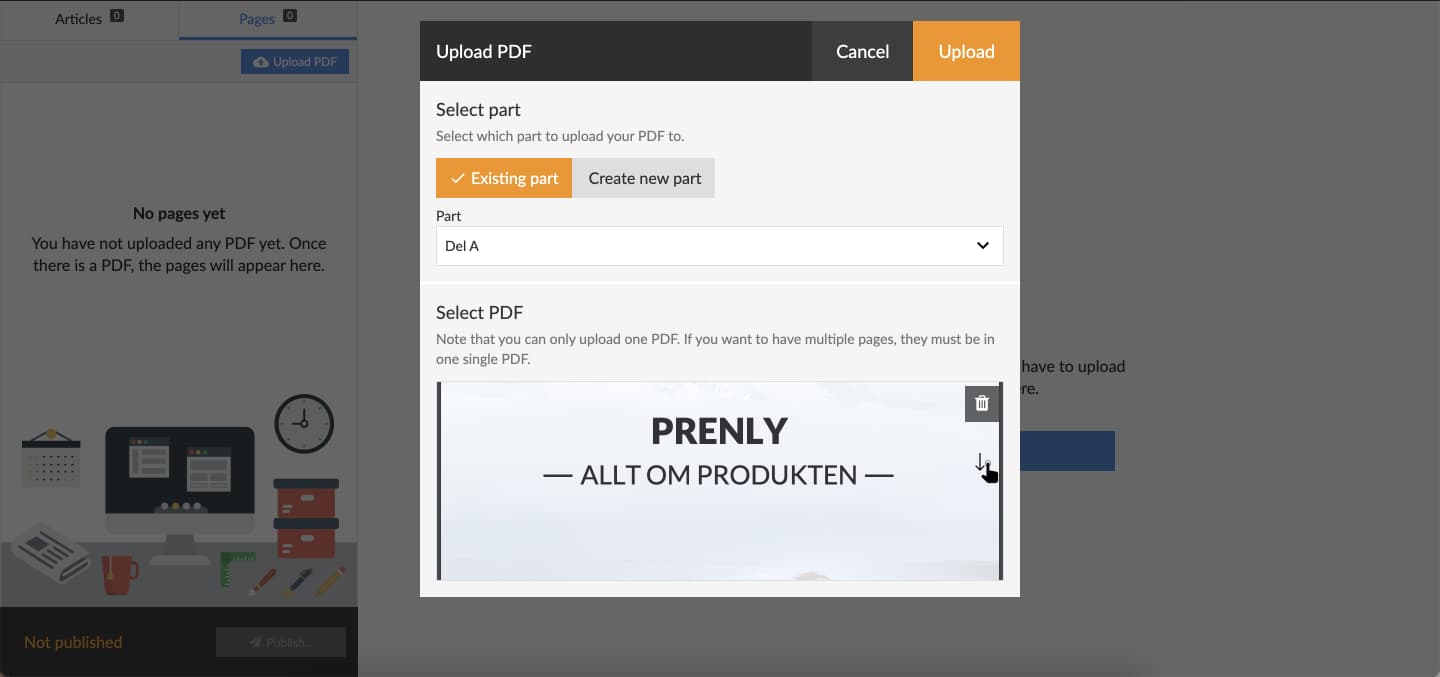
5. Select "Browse" in the section "Select PDF" to open a file-selector on your local device. Select the PDF you want to upload. Prenly will render a preview of the PDF prior to it being uploaded. To initiate the actual upload, select "Upload".
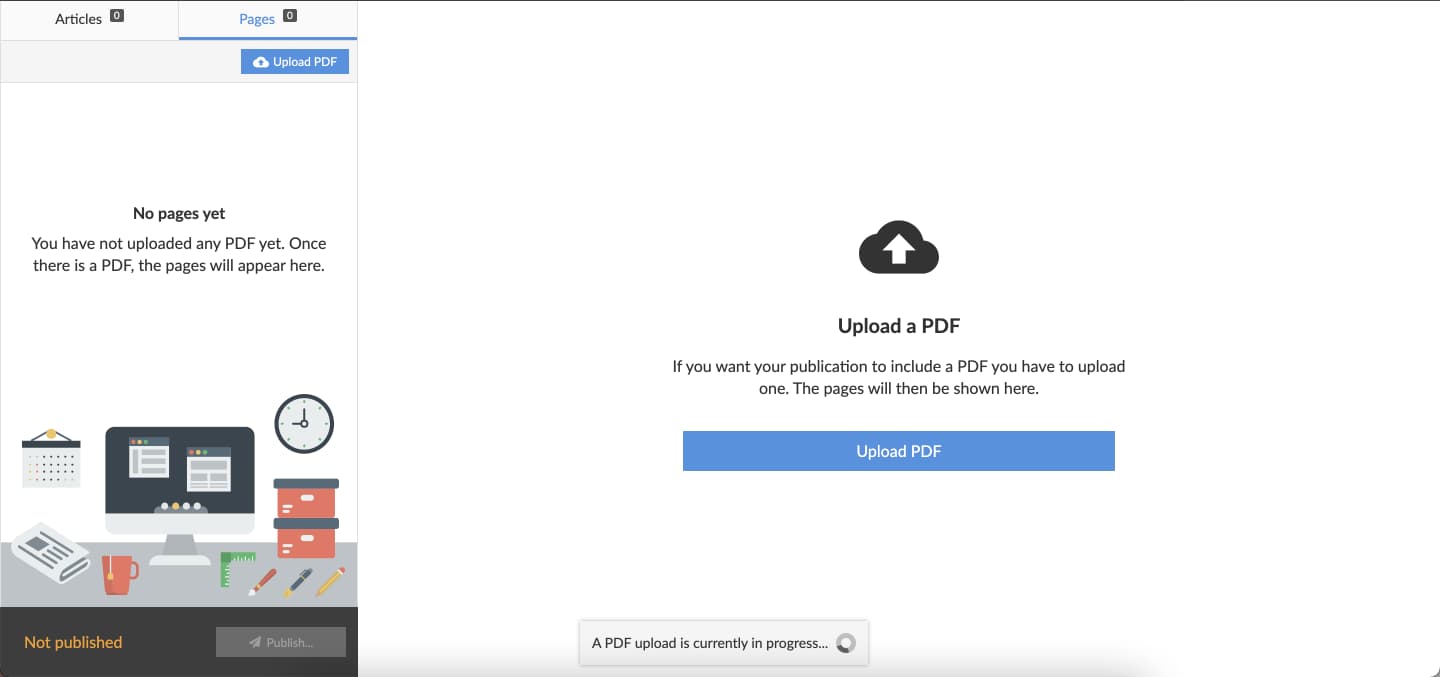
The upload process can take a couple of minutes to complete. The graphical interface will reload once the process has been completed.
6. You can see the result of uploading your PDF when the upload process has been completed.
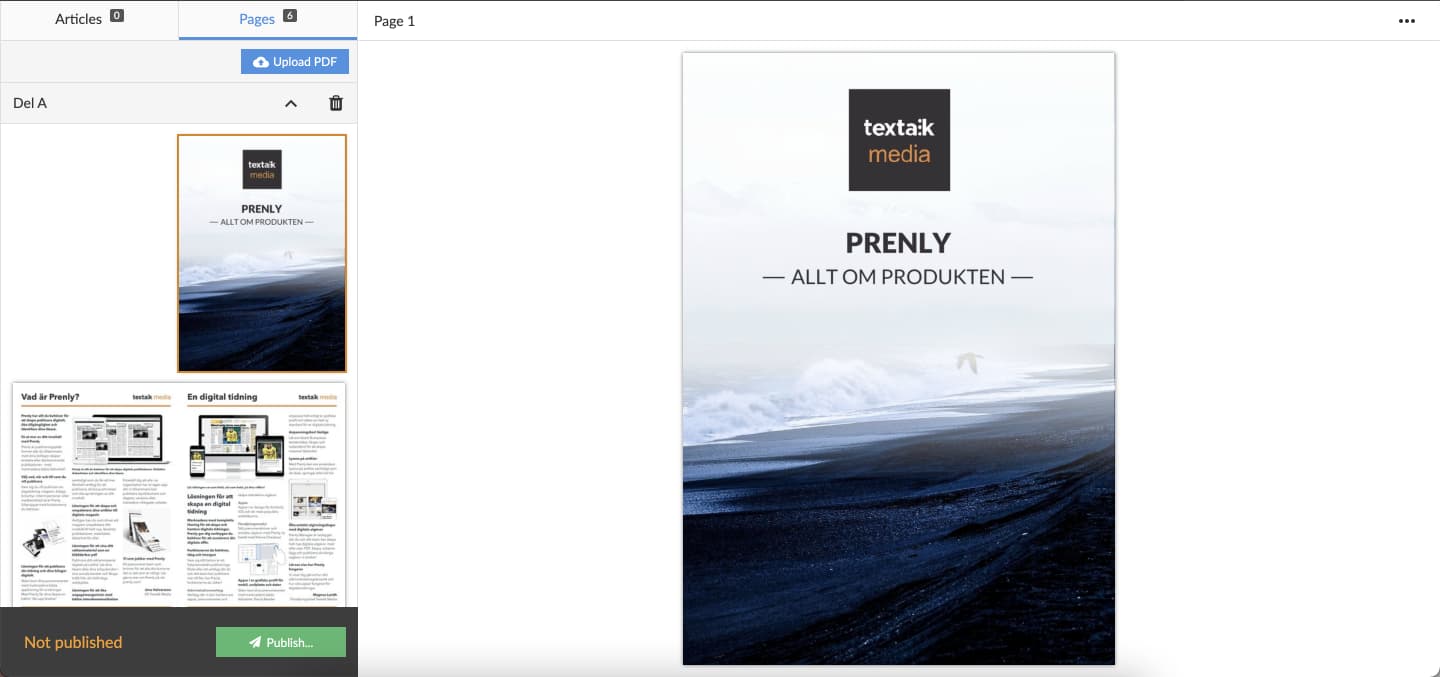
If you like the result then select "Publish..." if you want your readers to also see the result.
You can also select the video below to see "how to upload a PDF" as a video guide. Remember to first create a publication to host the PDF as described above.