Menu settings for the web application - Prenly
It is now possible to create your own menu in the Web app, you can e.g. add external links, cookie and privacy policies and choose from a number of different icons for your menu items.
This will change: “Login” will appear below the main menu and “Search” to the left of the main menu. You can shift “Search” to be under the main menu if you wish, where any remaining menu items will be visible.
You can edit your menu at any time.
To manage your menu in Prenly workspace here is a quick guide:
1. Log in to your Prenly Workspace account
2. Go to "Applications"
3. Select the application you want to manage the menu for
4. Click on "Menu" on the right
5. Select "Web Menu Settings"
6. Manage your menu by drag and drop, add menu items or edit existing content.
A maximum of two (2) icons in addition to the menu icon can be displayed in the top row of the home page. Other links end up under the menu icon.
By default, the search icon appears in the top row, but it can be moved into the menu if desired and replaced by up to two other items.
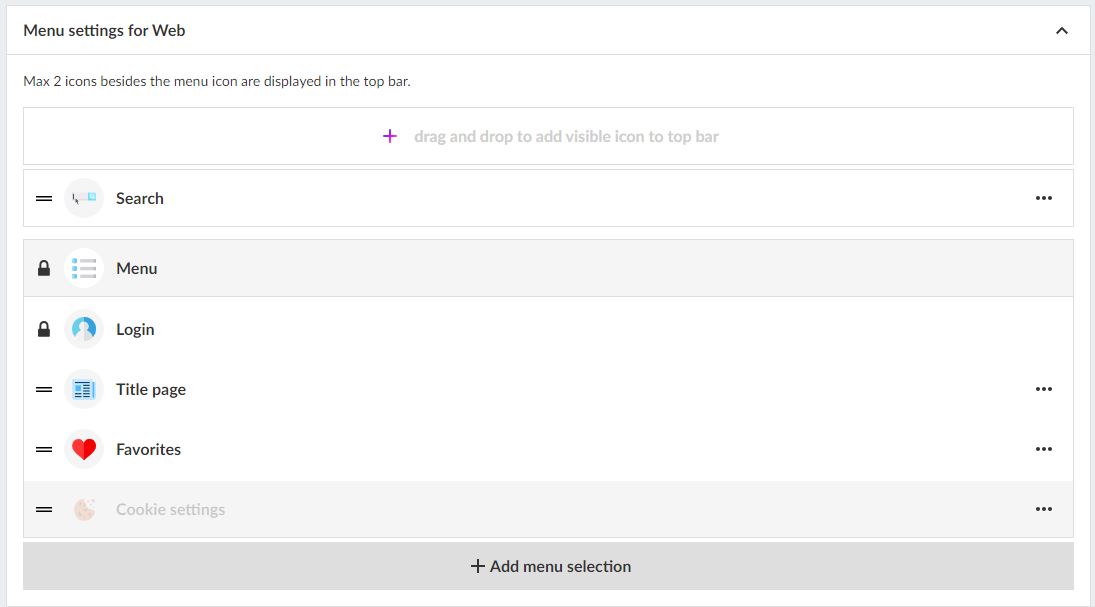
Add menu choices
Click on "Add menu selection" and choose from
- External link
- Favorites
- Podcast (add-on)
- Title page
- User selected title
Note that grayed out options are not active for your license. Contact customer service or your personal sales representative for more information about these features.
Favorites
Favorites is an easy way for users to select and find their most popular titles on the title page.
Podcast
Showcase your podcasts directly on the home page and on a special collection page.
If you want to activate the podcast add-on, contact sales@textalkgroup.com and we will connect you with one of our sales representatives.
Title page
By activating the Title page, the application is given a new tab where the reader can get an overview of which titles are in the application and the option to open each title to access a descriptive text and all editions.
Descriptions for each title are added under Edit Title.
Here you can also activate favorites so the user can mark their titles as favourites.
User selected title
A grouping of titles that the user can choose from. For example, if you have several editions or local variants in the same app and want to be able to offer the reader to choose their title.
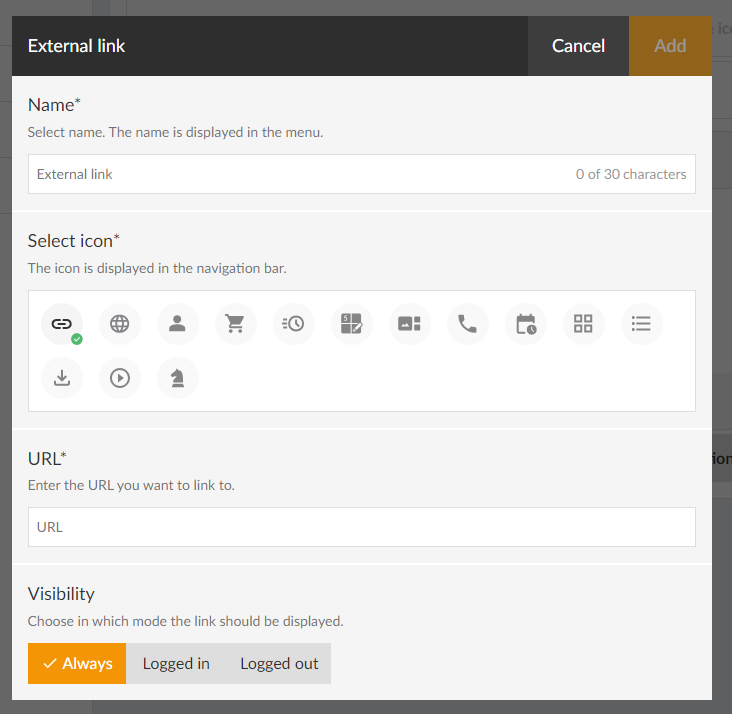
Add an external link
1. Enter a name for the link (this name will appear in the menu).
2. Select icon. If you do not select an icon, a default link icon will appear (highlighted in green).
3. Enter the URL you want to link to. Remember to test it in the browser first so it works.
4. Select visibility.
Whether the link should be visible regardless of whether you are logged in or not. Or if it should only be visible when you are logged in or logged out.
5. Click the "Add" button.
Sort the menu
To sort the menu drag the bars (click the icon to the left of the icon, hold the mouse button and drag up or down).
You can switch places on two menu items. For example, drag one menu item over another and they change places. It is of course also possible to drag to an empty place in the menu.
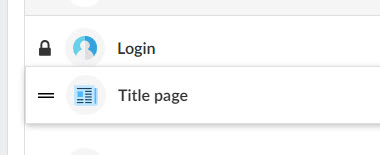
Note that the text for "Log in" cannot be moved. It will always be directly below the main menu.
Edit items in the menu
If you want to change the name, icon, etc. of the menu items, click on the three horizontal dots and select "Edit".
Delete items in the menu
To remove items in the menu, click on the three horizontal dots and select "Remove".
Note that some default objects cannot be deleted (marked with a padlock).
When you are done with all the changes, don't forget to save your settings.
We hope you will like this new feature as much as we do, if you have any questions please contact our support and they will help you.